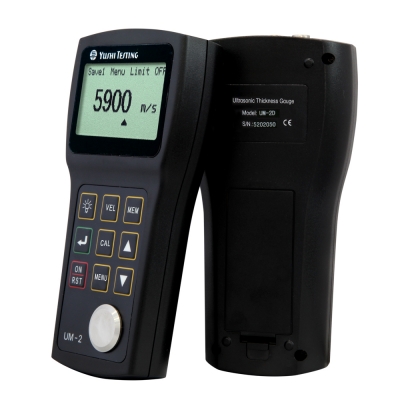
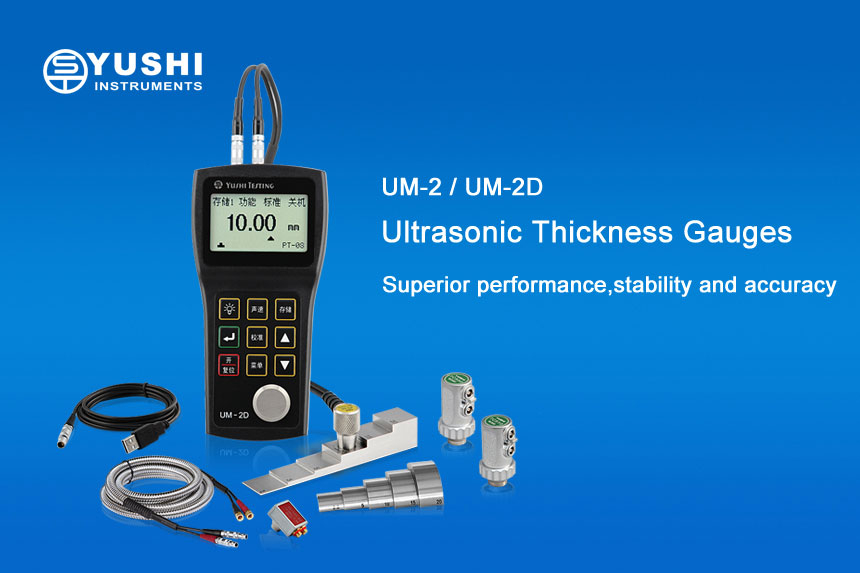
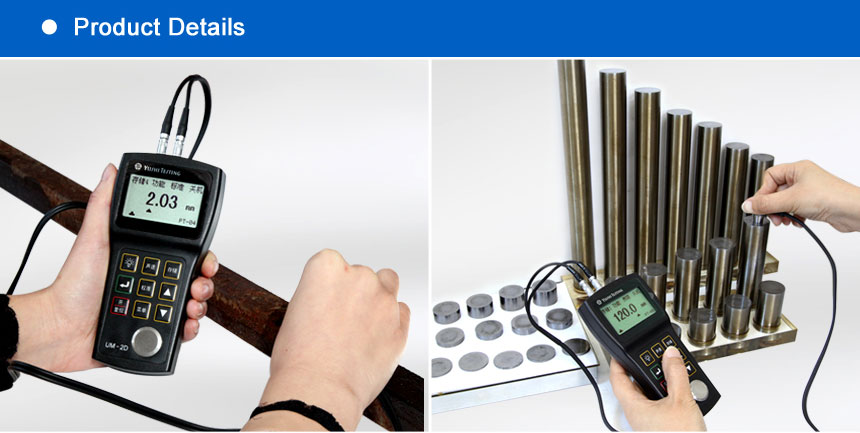
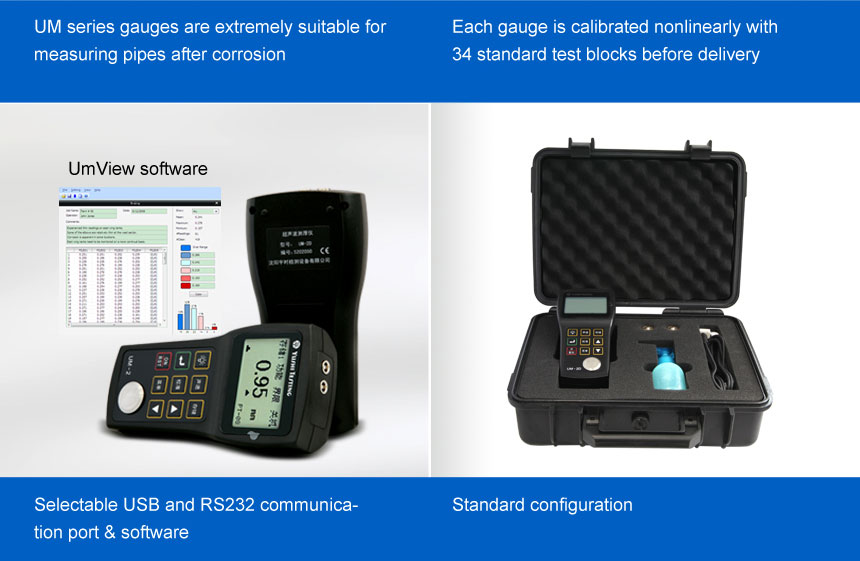
The UM-2 series thickness gauge has extremely high measurement performance, and the displayed value has high stability and accuracy.
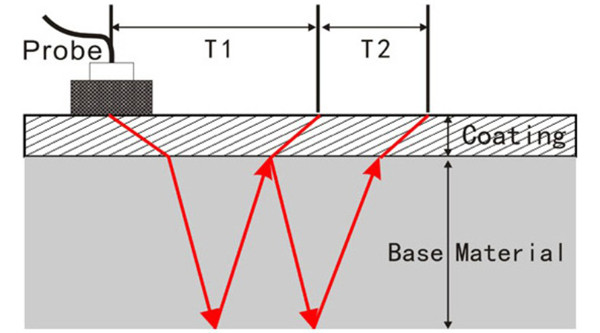
We launched the through coating technology in 2006, which is used on UM-2D. It can measure the thickness of the substrate directly without removing the surface coating of the test object. The applicable coatings for this function are: paint layer, plastic coating, etc. This function is achieved by measuring two continuous bottom echoes of the substrate, it also has many advantages: no zero point calibration, high stability of the indication, and zero drift.
| Display | 128×64 dot-matrix LCD screen with EL backlight |
| Working Principle | P-E (pulse-echo), E-E (echo-echo) with dual-crystal probes(Only for UM-2D) |
| Standard mode | 0.8mm to 300mm, depanding on material and probes
|
| Thru coating mode | 3mm to 20mm with PT-08 probe(Only UM-2D) |
| Unit and Resolution | mm-0.01,0.1 inch-0.001,0.01 |
Calibration
| Probe Zero Calibration |
| One-Point Calibration | for no paint testing |
| Two-Point Calibration | For curve surface or special thickness measurement application |
| V-path Correction | V sound path correction to compensate the nonlinearity of the dual crystal probe
|
| Error | less than 10mm: ±0.05mm
up to10mm: ±(0.5%H+0.1)mm |
| Repeatability | ±0.05mm |
| Update Rate | 4Hz |
| Velocity Range | 1000~9999m/s or 0.0394~0.3937in/us |
| Memory Function | 500 readings can be stored in 5 groups |
| Minimum Value Checking | Move the probe along the surface of the testing material, the gauge is able to find the thinnest point automatically |
| Warning Function | If the measured value exceeds the pre-set limit, the warning tone will be start |
| Velocity Storage | Total 5 different materials velocitiescan be stored |
| Languages | English and Chinese |
| Communication Port | USB or Serial RS232 Port(Optional) |
| Software | UmView software for transmission, storage, analysis and documents editing(Optional) |
| Power | Two 1.5V AA alkaline batteries(Warning with low battery voltage) |
| Operating Time | Up to 200 hours with alkaline batteries(wihtout backlight) |
| Power Off | AUTO OFF after 5 minutes of inactivity |
| Operating Temperature | -10℃ to +50℃, -20℃ in special requirements |
| Size | 149mm×73mm×32mm (H×W×D) |
| Weight | 200g(Include batteries) |
| Standard Configuration | UM-2/UM-2D Ultrasonic Thickness Gauge,Probe, Instrument Case, Operating Manual, Certification, Pcking List |
| Optional Accessories | Various Probes, Probe Cables, Step Calibration Blocks, Communication Software and Rubber Bumpers |
Optional Ultrasonic Probes
PT-08,5P-10,PT-12,ZT-12,GT-12,PT-04 and PT-06.

