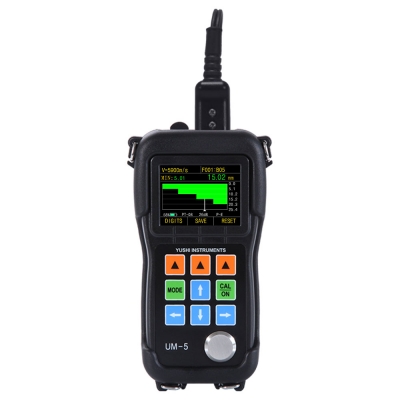
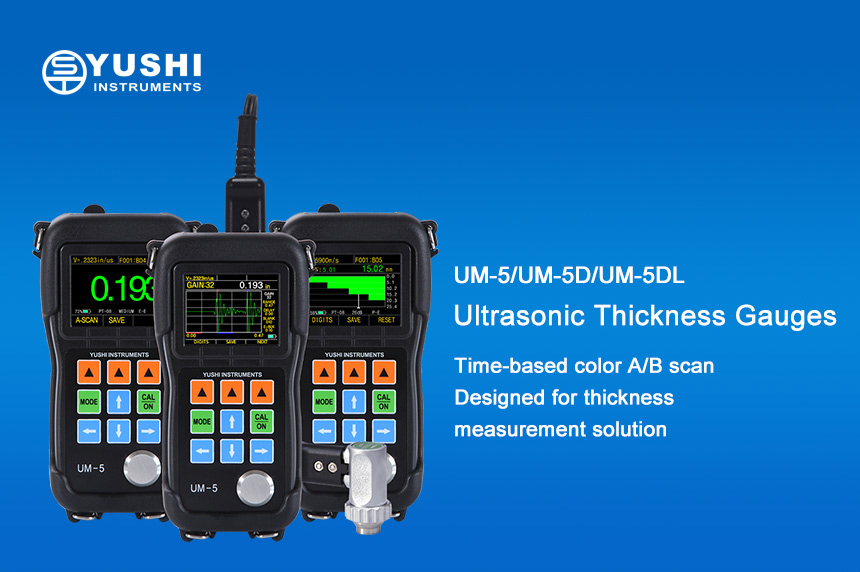
The UM-5 series ultrasonic thickness gauges developed and produced by Yushi Instruments adopt the Ultrasonic pulse reflection principle. Acoustic waves are emitted into the material from one side of the workpiece and the thickness can be measured in real time without cutting the workpiece. It is an ultra-small measuring instrument. It can measure quickly, without damage, and accurately. In addition, the instrument provides A and B scanning functions. The echo display can help users control the measurement better, make the thickness measurement range wider and the measurement value more accurate.
This instrument can be widely used in manufacturing, metal processing, aerospace, railway transportation, chemical industry, commodity inspection and other inspection fields. In addition to measure various kinds of plates and processed parts accurately, it can also monitor the thinning after corrosion of the pipelines and pressure vessels in production equipment. It is an essential equipment on non-destructive testing industry.
The main functions of UM-5DL are as follows:
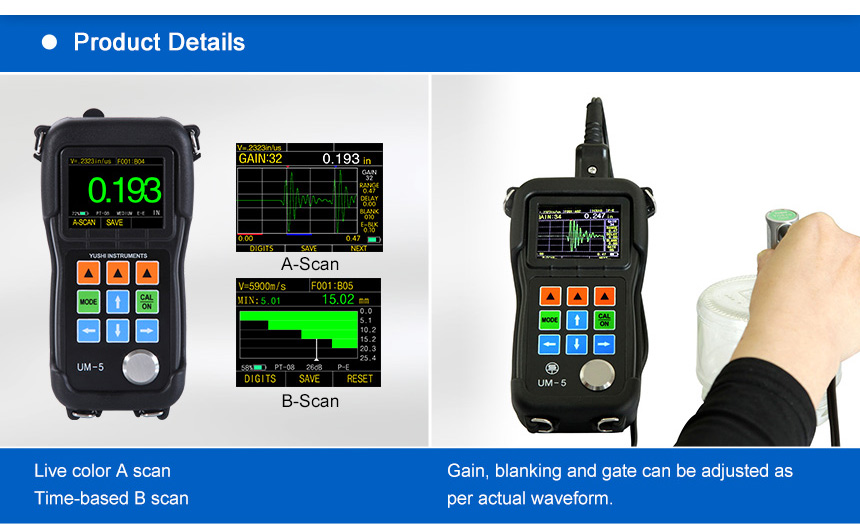
● Real-time color A-scan
The user can see the color ultrasonic signal wave pattern on the screen, which is essential for occasions where it is necessary to verify whether the thickness reading is correct. In many cases, erroneous thickness readings or even no readings can cause confusion. According to the A-scan waveform, the problem can be easily solved. And according to the waveform, the three parameters of gain (GAIN), blanking (BLANKING) and gate (GATE) need to be adjusted appropriately, then correct thickness reading can be obtained.
● Adjustable gate
Only when the echo is higher than the gate, the instrument considers the echo is received and will have a measured value, which shows the importance of adjustable gate, especially in applications that deal with low echo signals (such as the measurement of ultra-thin plates and ultra-thick plates).
● Red Arrow
A-scan mode has a red arrow indicating the measuring point, and the thickness reading is the abscissa of this point. It can help user to judge whether the thickness reading is correct or not. When measuring correctly, the red arrow should point to the front end of the first bottom echo.
● Gain adjustment
Adjust the magnification of the echo signal, allowing manual increase or decrease in units of ldB. This function is very effective for measuring sound attenuating materials (such as metal castings).
● Blanking function
Invalidating the waveform in the range of the red blanking bar can eliminate clutter wave that affects the measurement, such as noise caused by the rough surface of the material or internal unevenness.
● Range
Adjust the range of the waveform displayed on the screen, the waveform is visually compressed or expanded. If the display range has not been set correctly, the echo waveform may be out of the display area and cannot be seen, but the measured value can still be displayed correctly.
● Delay
Adjust the starting position of the waveform displayed on the screen, the waveform can be moved horizontally visually. If the translation has not been set correctly, the echo waveform might be out of the display area and cannot be seen, but the measured value can still be displayed correctly. The range and delay function can magnify any part of the waveform and display it on the screen.
● Real-time color B-scan
UM-5 series ultrasonic thickness gauges are equipped with real-time B-scan function, which displays the profile view of the workpiece along the moving track of the probe, which is used to observe the bottom surface profile of the workpiece. Capture the minimum value on a B-scan image automatically, and the position of the minimum value is indicated by the red triangle sign. You can also view the thickness of any point on the B-scan image by moving the pointer.
● Larger memory, more convenient storage function
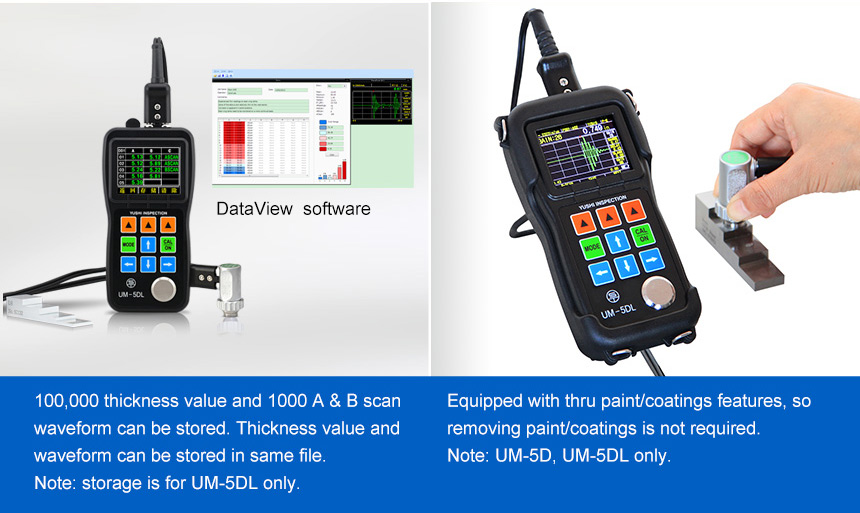
It can store 100,000 thickness values and 1000 A and B scan waveforms. The waveforms and thickness values can be stored in the same file; by using grid-style storage files and 15 thickness values can be displayed on one screen and displayed in the grid at the same time. It is convenient for users to browse the stored thickness data. USB 2.0 Full Speed (Full Speed) interface, powerful DataView data statistics and management software.
● Other useful functions
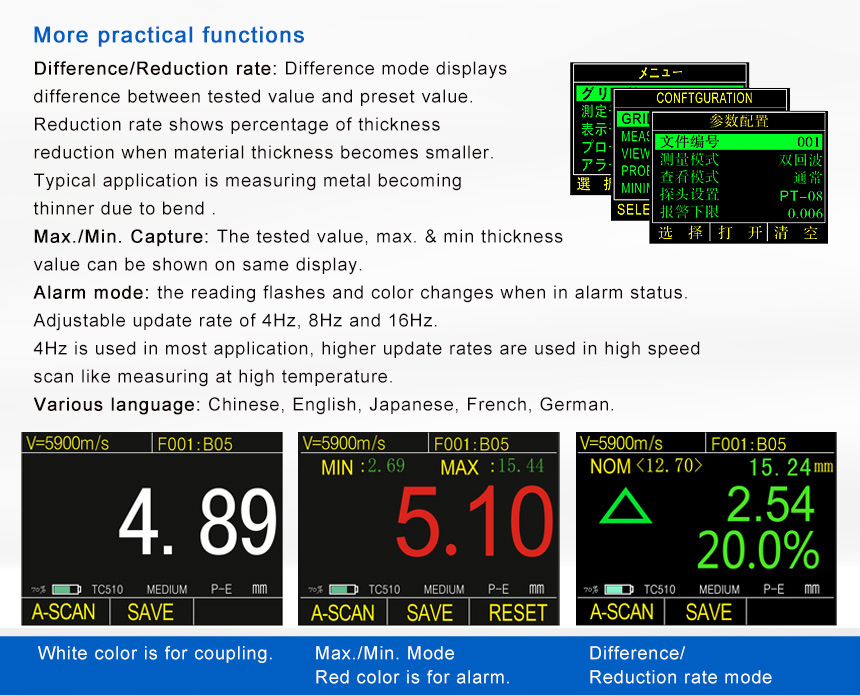
Difference/reduction rate: The difference mode displays the difference change between the measured thickness and the preset thickness. The reduction rate is to calculate and display the percentage of thickness reduction after the material becomes thinner. A typical application is to measure metal materials that have become thinner due to bending.
◆ Maximum/minimum value capture: The current thickness, minimum and maximum thickness values are displayed on the screen at the same time.
◆ Alarm mode: dynamically change the color of the thickness reading when alarming.
◆ Adjustable update rate of 4Hz, 8Hz, 16Hz: 4Hz can be selected for common applications, and a higher update rate can be selected when fast scanning is required, such as high temperature measurement.

